
Connecting to OBS Websocket using OBS Blade (for Basic / Enhanced Hosting)
Controlling OBS via Websocket within OBS Blade
You will find all of the server details within the AntiScuff Client Portal under your active package.
We recommend using OBS Blade to control OBS on your mobile device
Using an Android device? Check out our guide on StreamCtrl
OBS Blade is available for iOS ( https://apps.apple.com/us/app/obs-blade/id1523915884 )
Once you have downloaded and installed OBS Blade it should look like this

Press Start

Press 28.X and above

Press Next

Press Start
The initial screen of OBS Blade will look like this

Log into the Client Portal and click on the active product Basic or Enhanced Cloud OBS Hosting then click on OBS Websocket
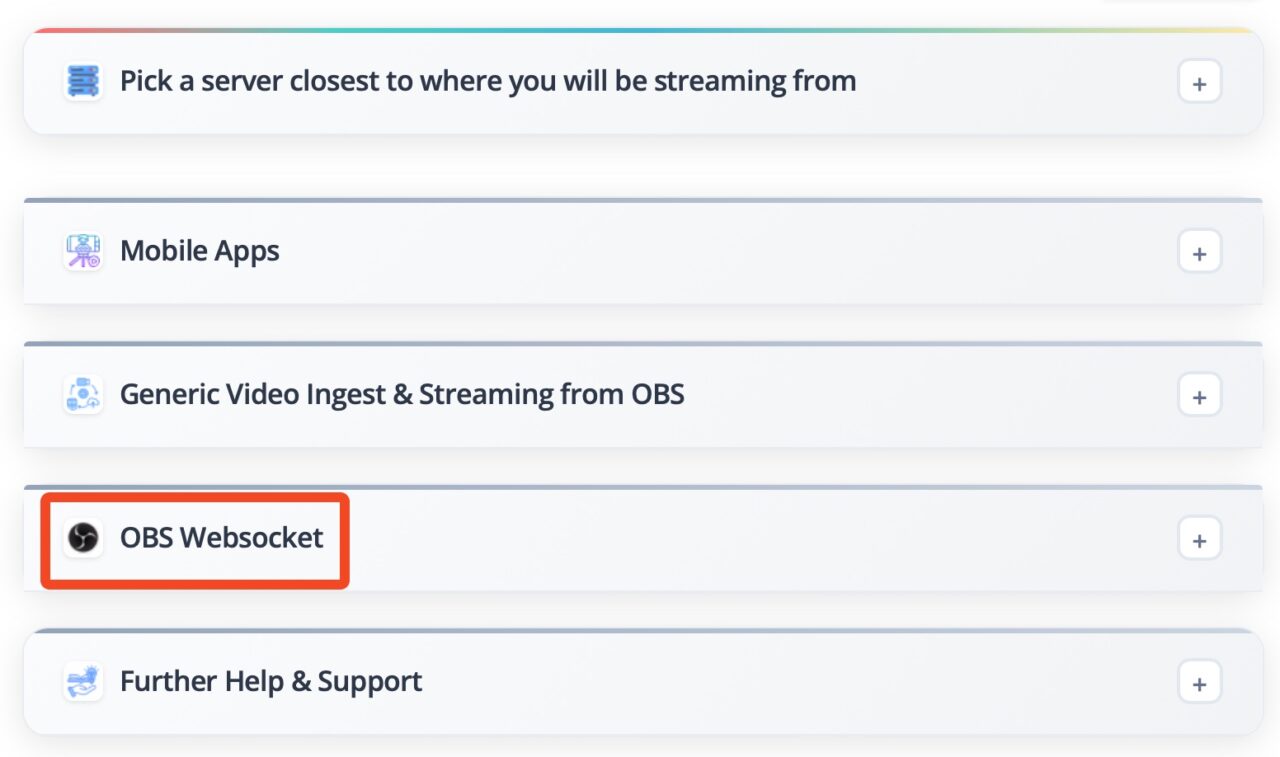
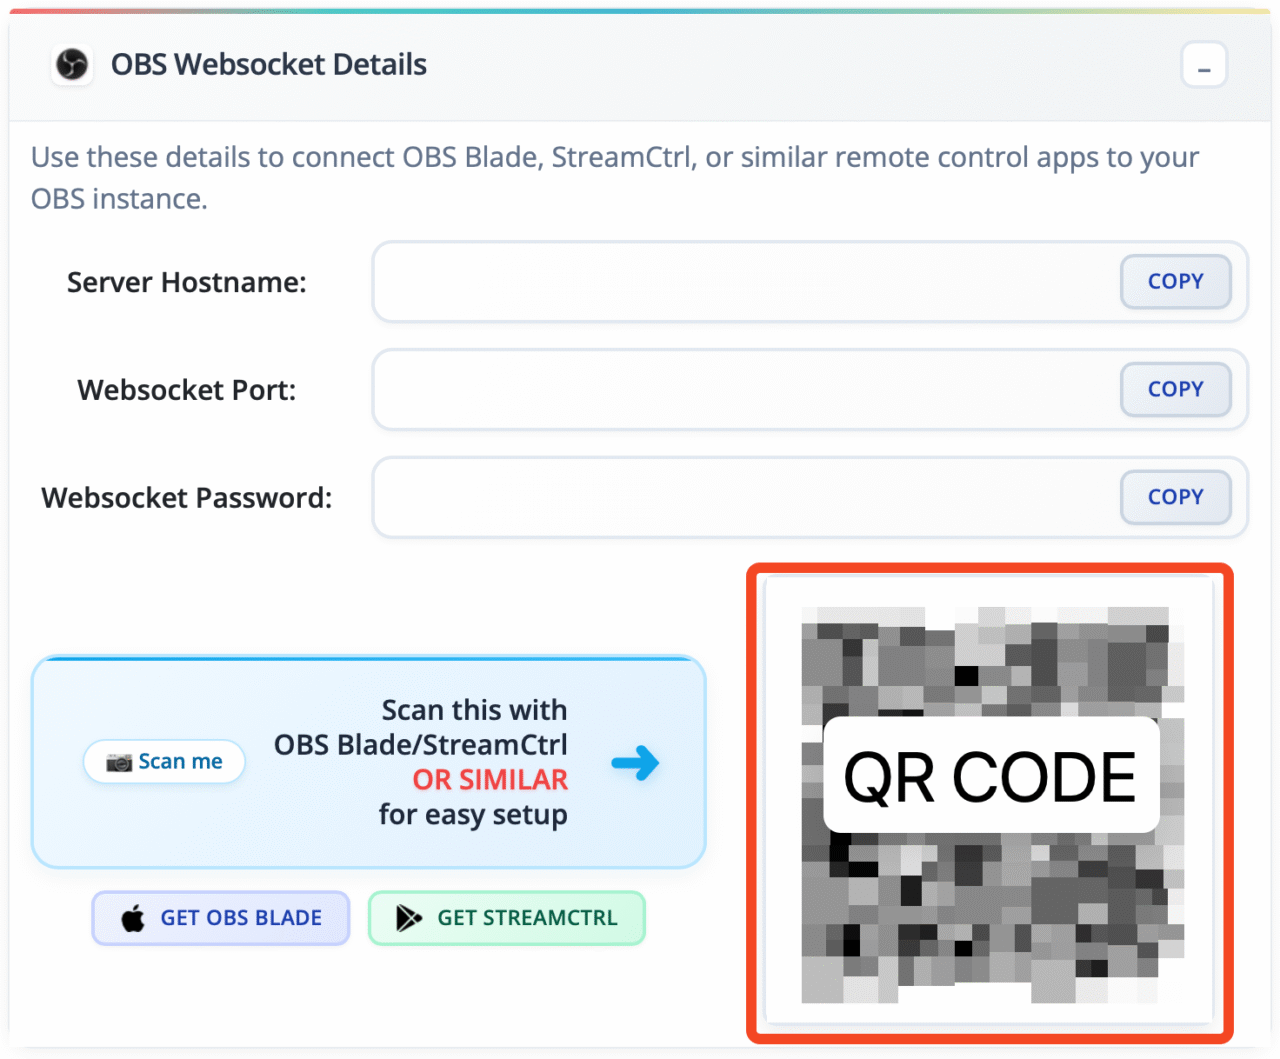
It will look like this
Back in OBS Blade the QR Icon
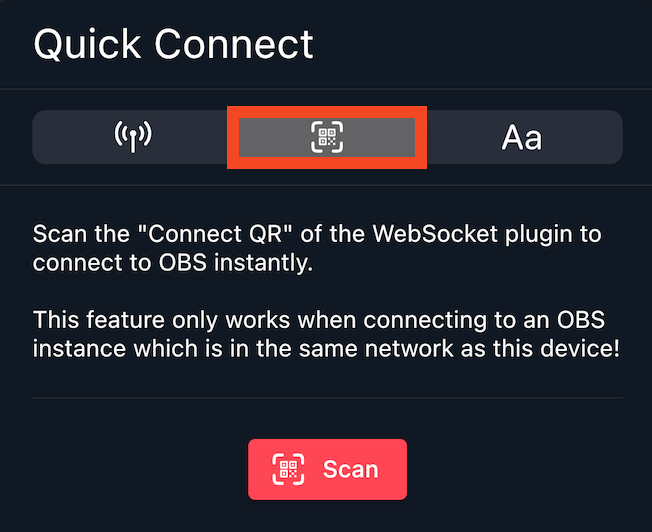
Point it at your screen to scan the QR Code
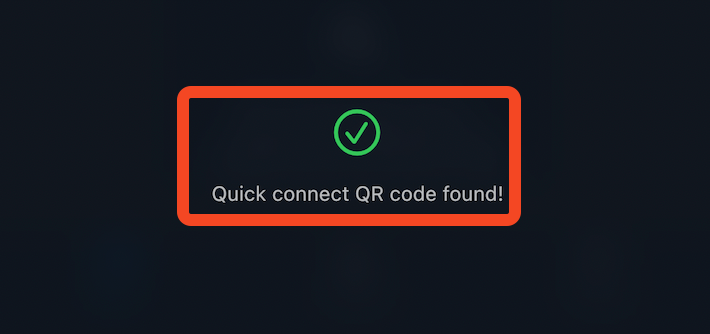
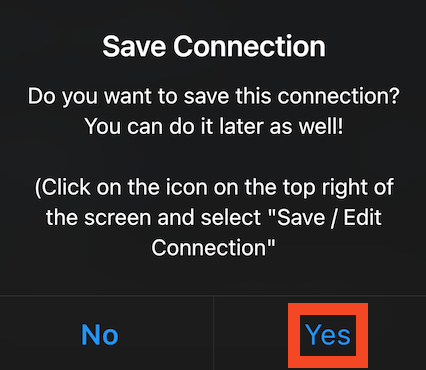
Press Yes if you want to save the connection so you can connect quickly next time you need it (Recommended)
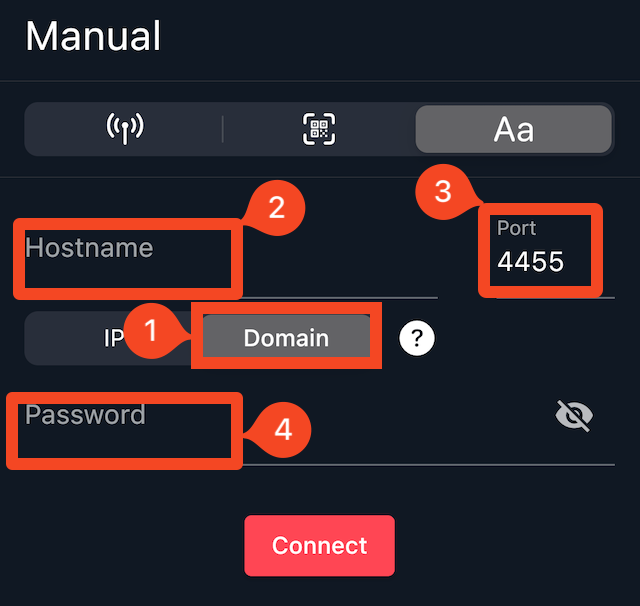
Note: If you are doing this all from one device you can press Aa and manually fill out the details from the Client Portal
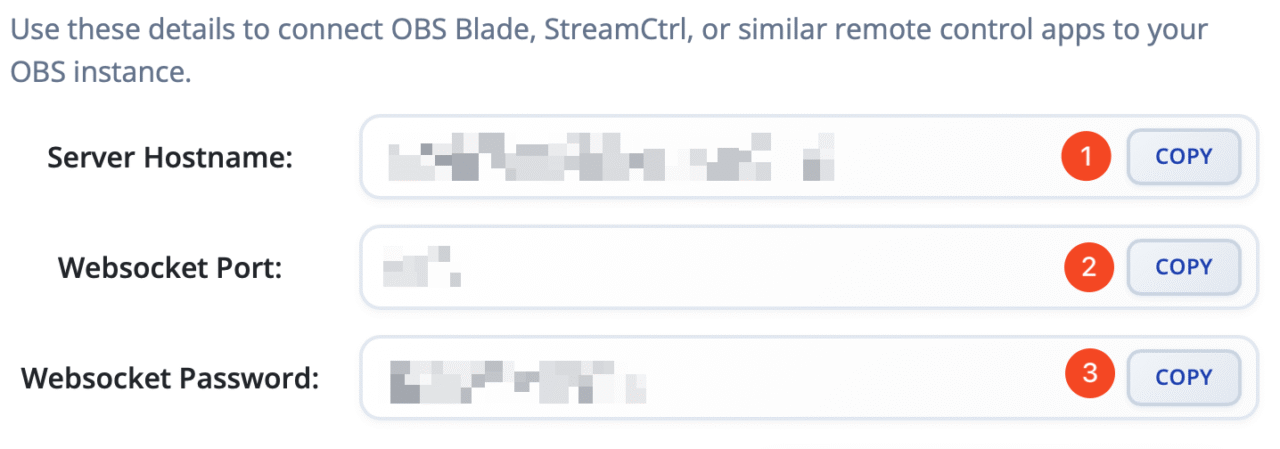
Hostname = 2
Websocket Port = 3
Websocket Password =4
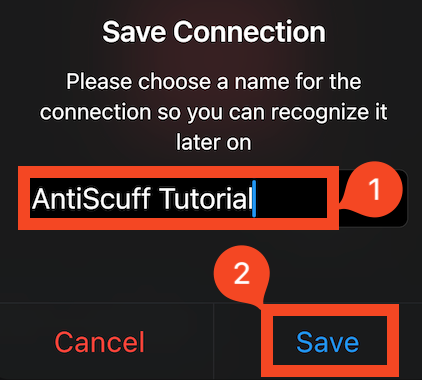
Enter the name you would like to save the connection under(1), then press Save(2)
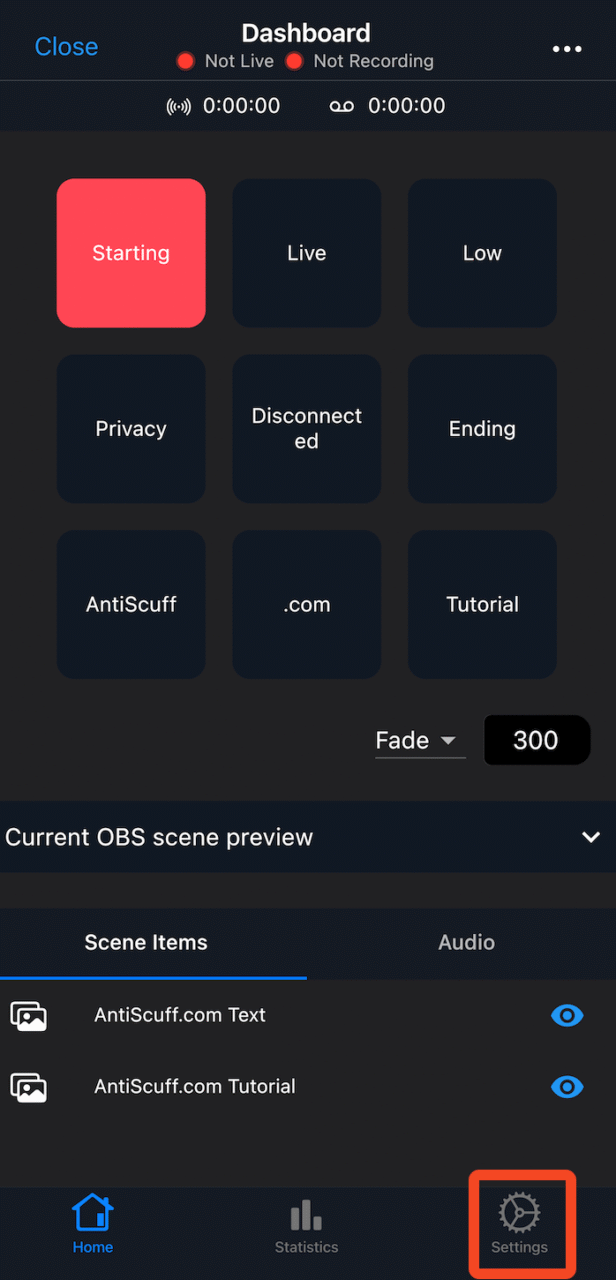
Press the Settings Cog
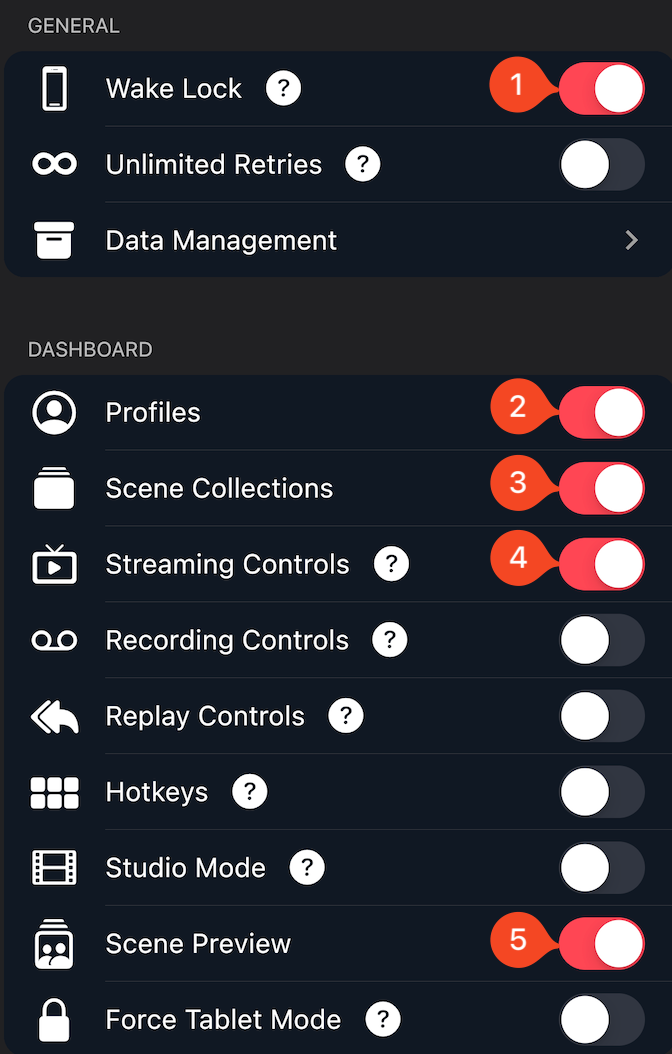
Press Settings Cog and toggle the same as the screenshot;
Wake Lock (1)
Profiles (2)
Scene Collections (3)
Streaming Controls (4)
Scene Preview (5)
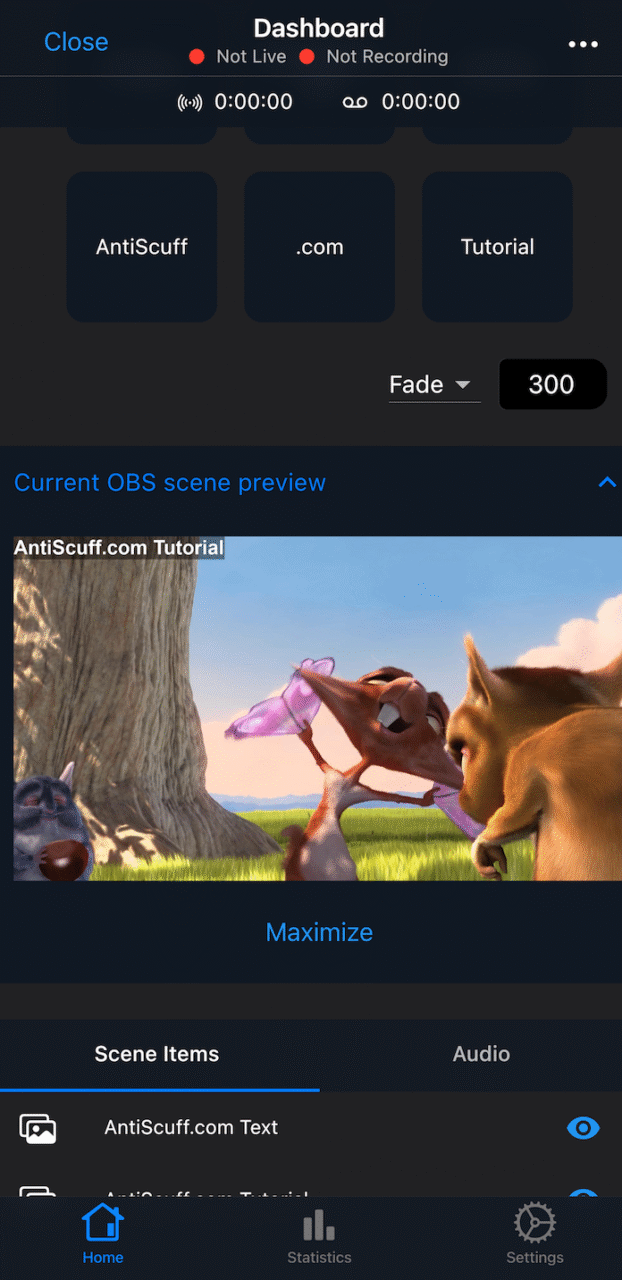
Once loaded it should look something like this. You are now ready to use OBS Blade.
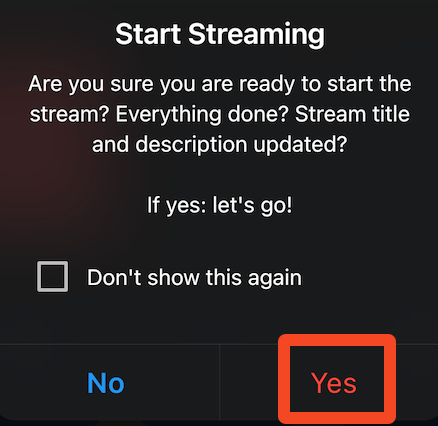
To start the stream without using the Chatbot – press Go Live within OBS Blade
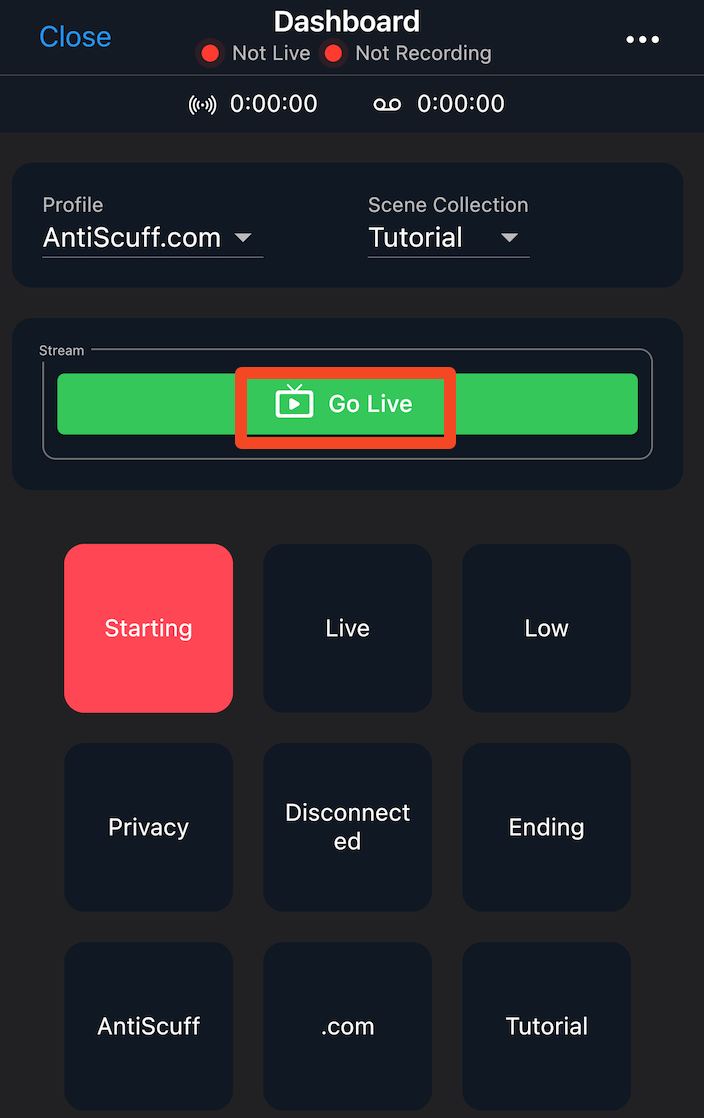
Confirm if you actually want to start streaming
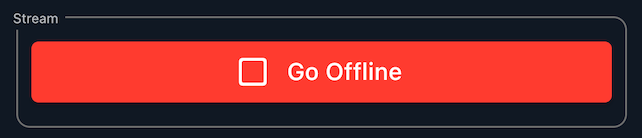
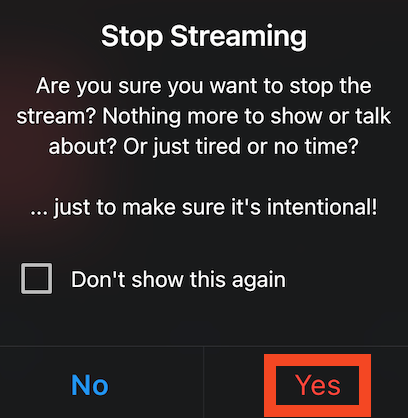
To Stop Streaming, press Go Offline
To turn off sources press the Eye icon next to the source name.