Connecting to OBS Websocket using StreamCtrl (for Basic / Enhanced Hosting)
Controlling OBS via Websocket within StreamCtrl
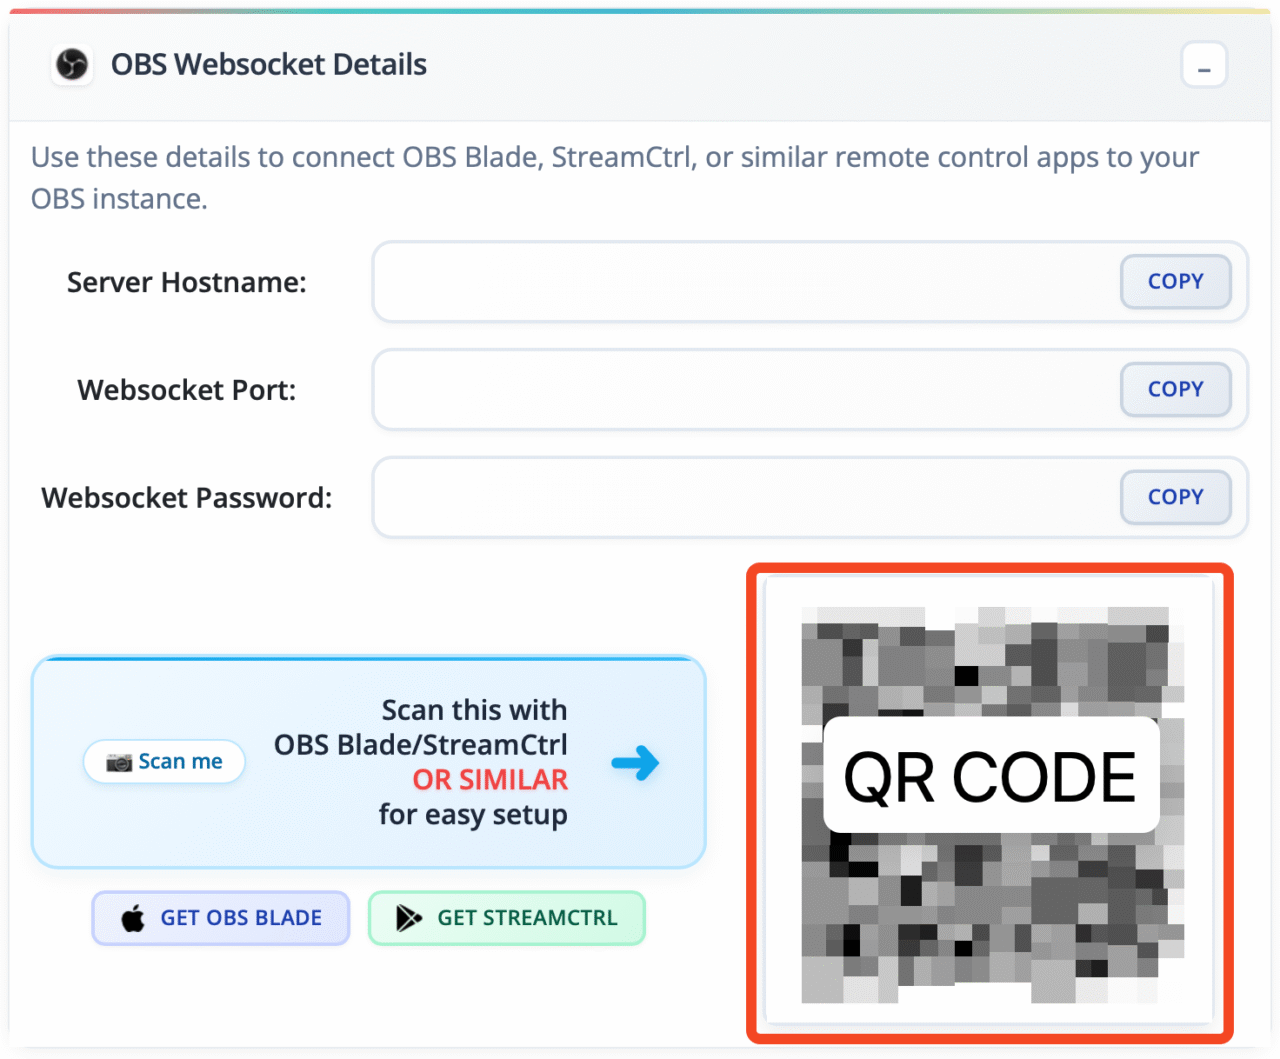
You will find all of the server details within the AntiScuff Client Portal under your Active Package. If this is missing, please raise a Support Ticket and we will get them added ASAP
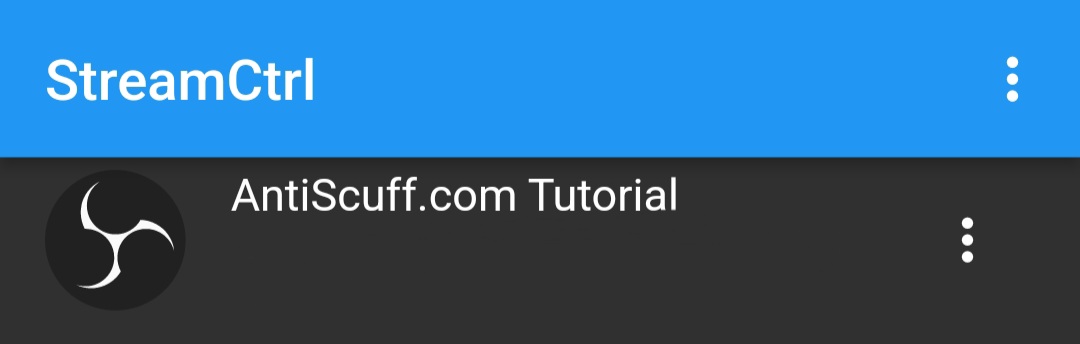
StreamCtrl is available for Android

Once you have installed StreamCtrl it should look like this
Log into the Client Portal and click on the active product Basic or Enhanced Cloud OBS Hosting then click on OBS Websocket
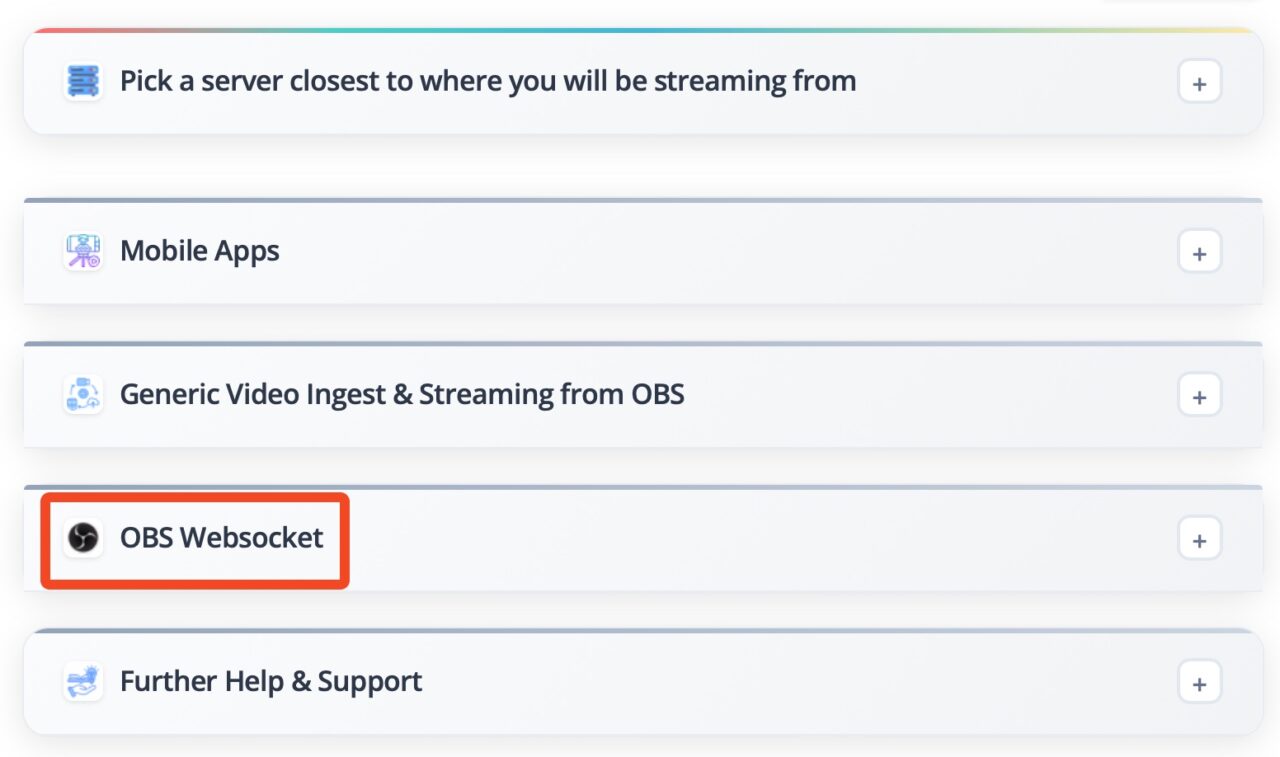
It will look like this
Click on the + icon and select OBS

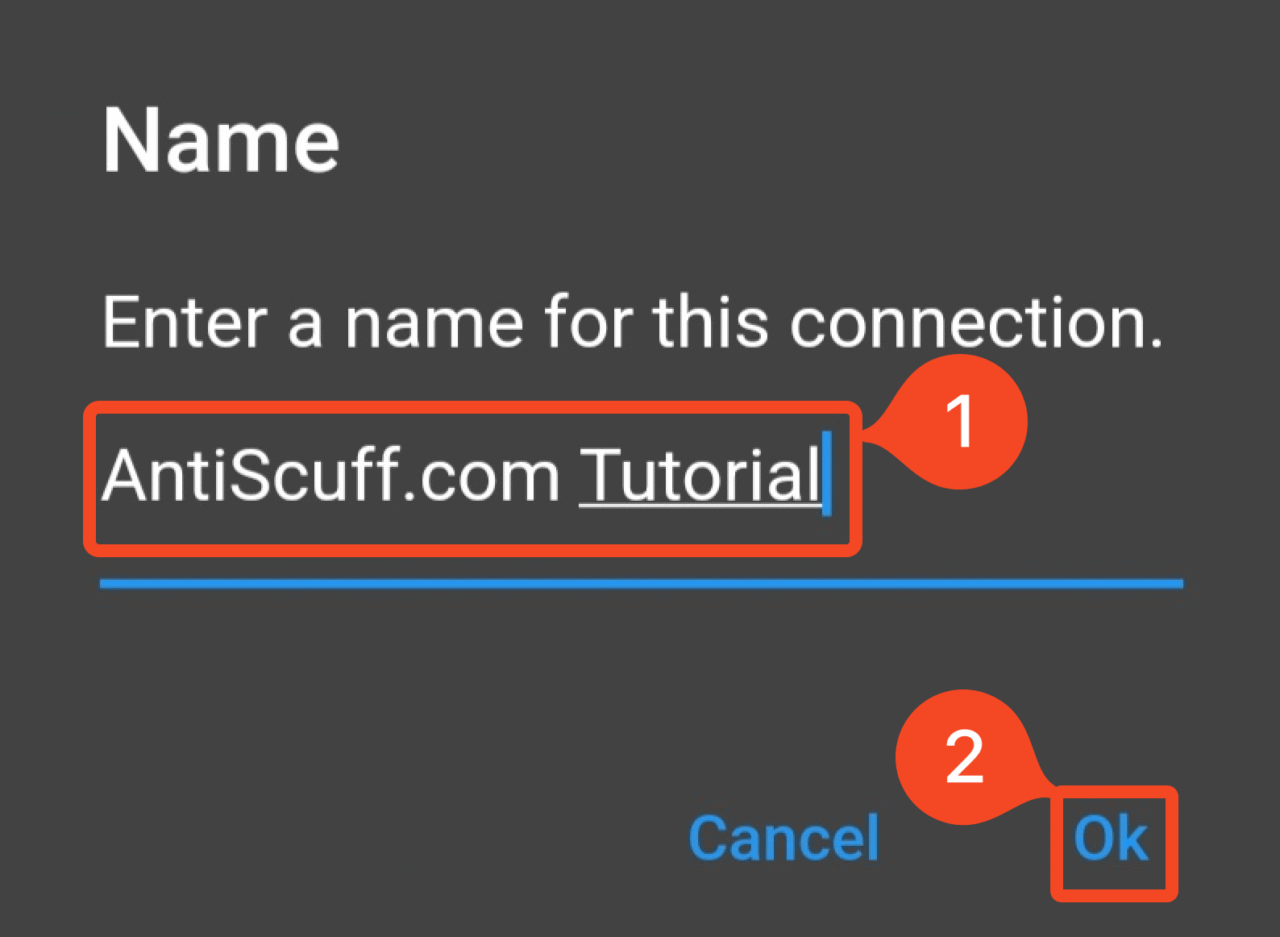
It will then ask you to name the connection. Put in a name (1) then press Ok (2)
Note: If you are doing this all from one device you can press Click on the + icon and select Manual
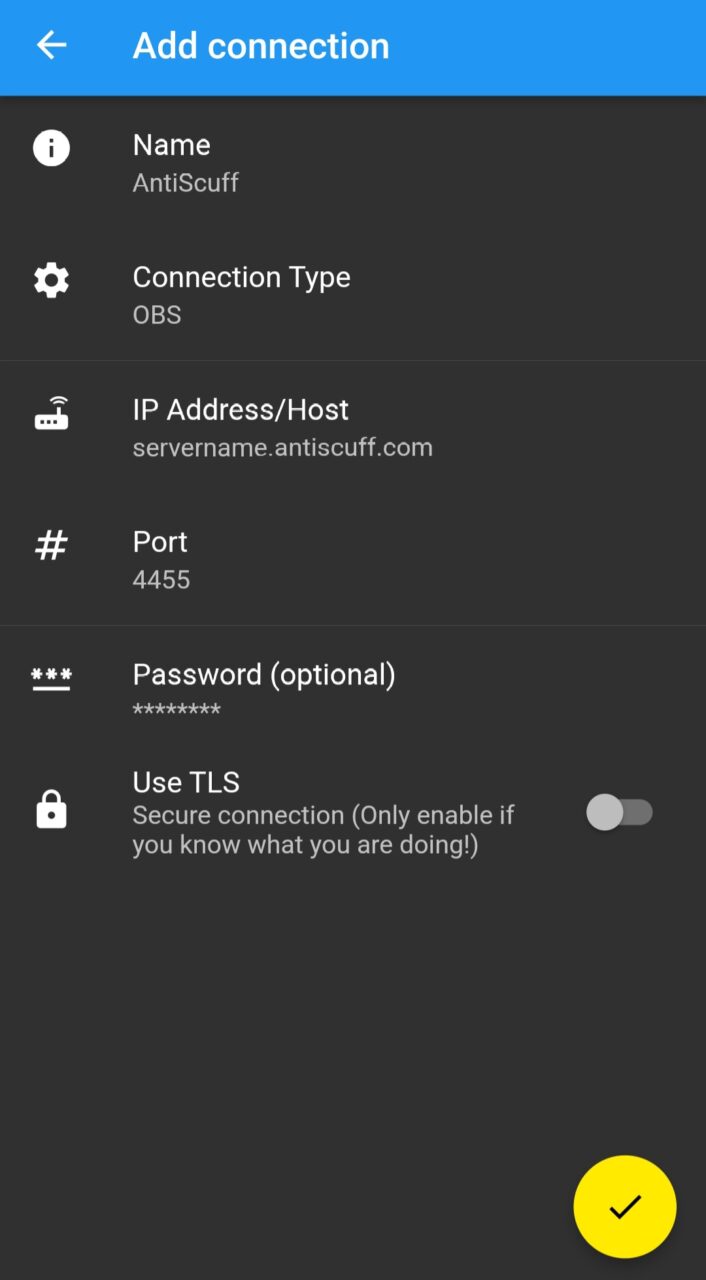
Fill in the following with details found in the Client Portal

Name: Anything which you can remember
Connection Type: OBS
IP Address/Host: Server Hostname (1) from the Client Portal
Port: Websocket Port (2) from the Client Portal
Password: Websocket Password (3) from the Client Portal
It should look similar to this:
Press the Tick
Then click on the new connection you just added, in this example it is called AntiScuff

You have now connected to the websocket.

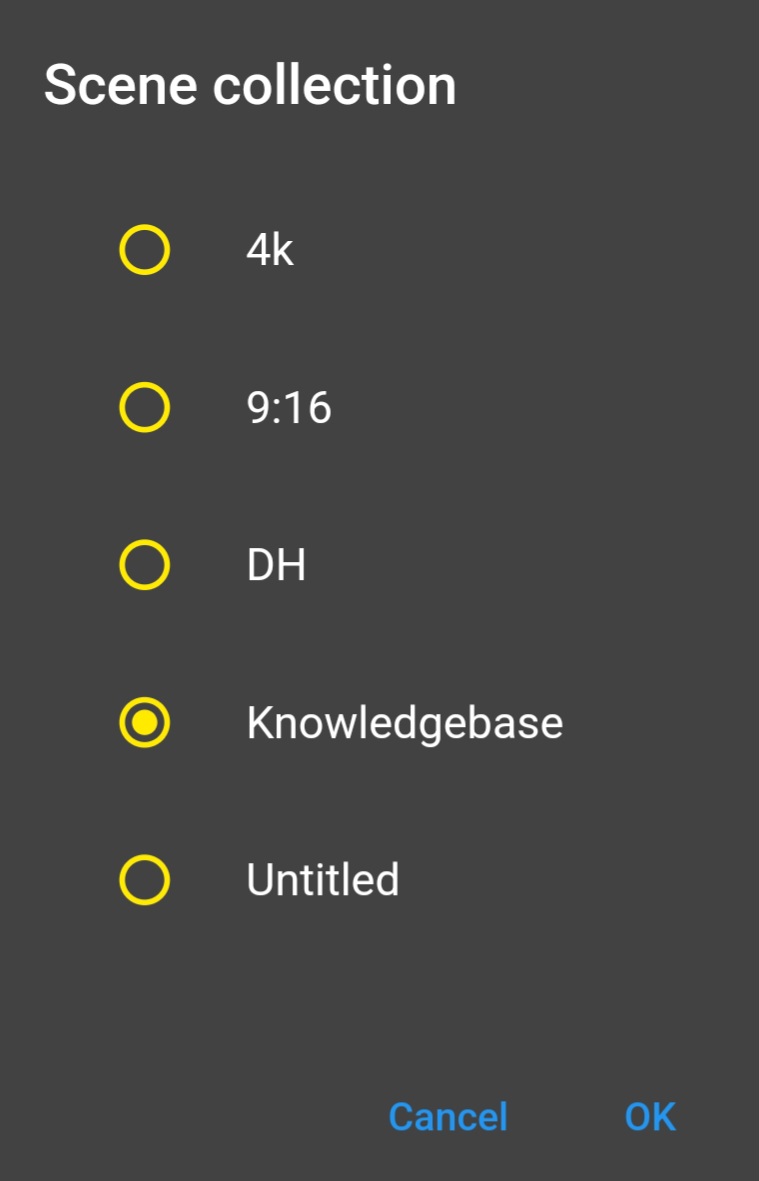
You can also change the Scene Collection by pressing the 3 dots in the top right and selecting “Scene Collection” then select which one you want then OK

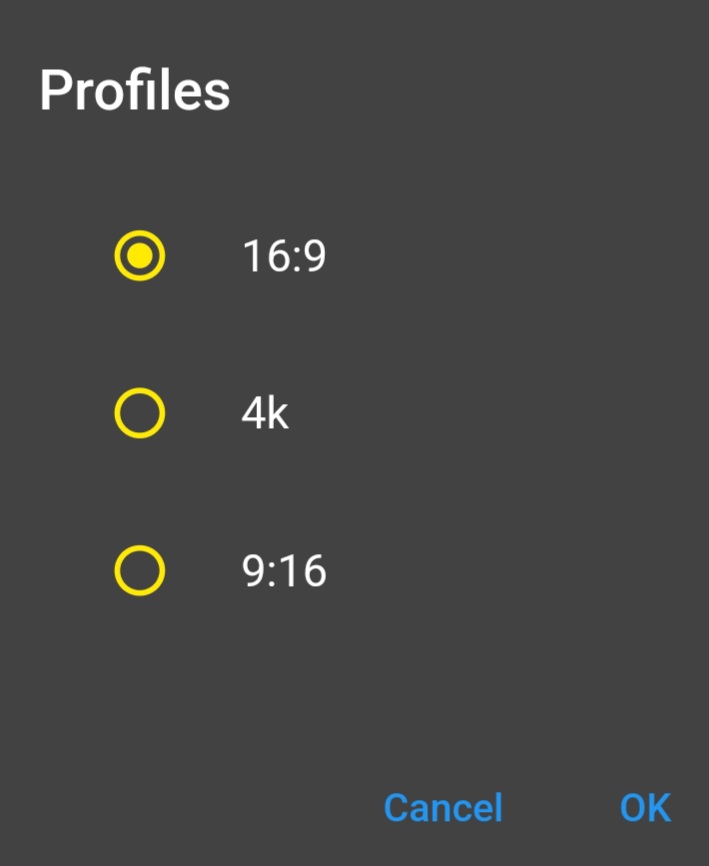
Similarly for Profiles. If you stream to multiple platforms, this is what you want. You press “Profiles” and then you will see the list of your Profiles there. Select the right one for that day.
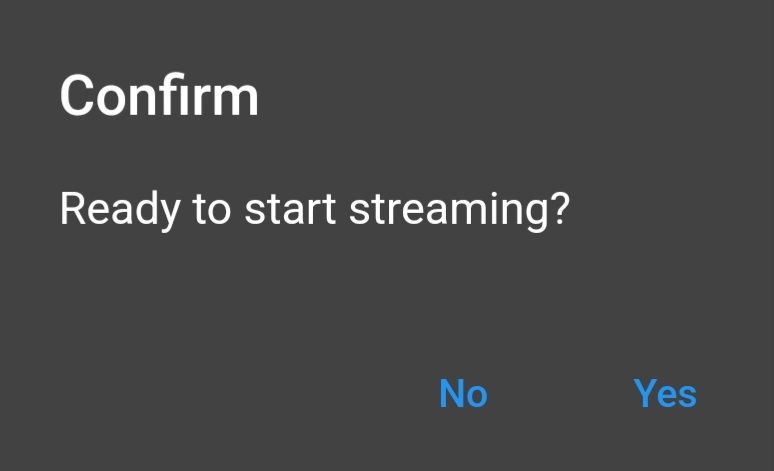
Once you have made the changes you need, you are ready to start streaming. Just press “Start Streaming“, then Confirm and you are live!

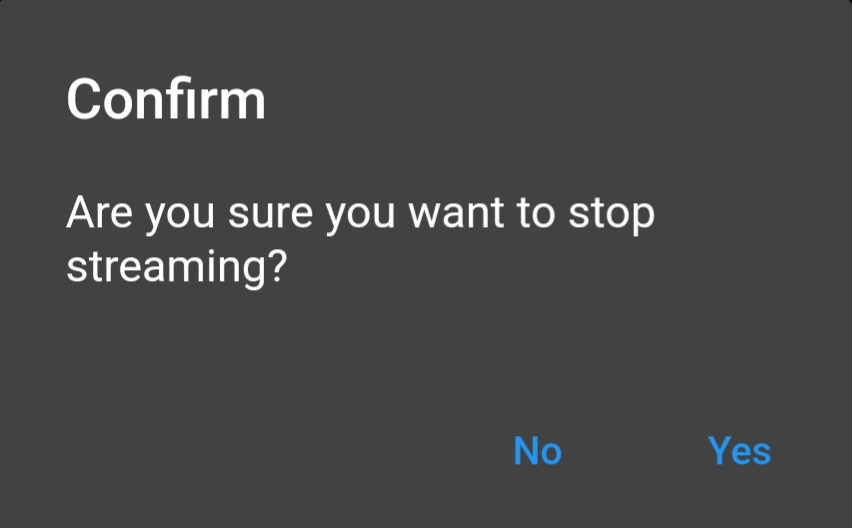
To Stop Streaming, press the “Stop Streaming” button, Confirm and you have stopped the stream!